Quick Start Guide
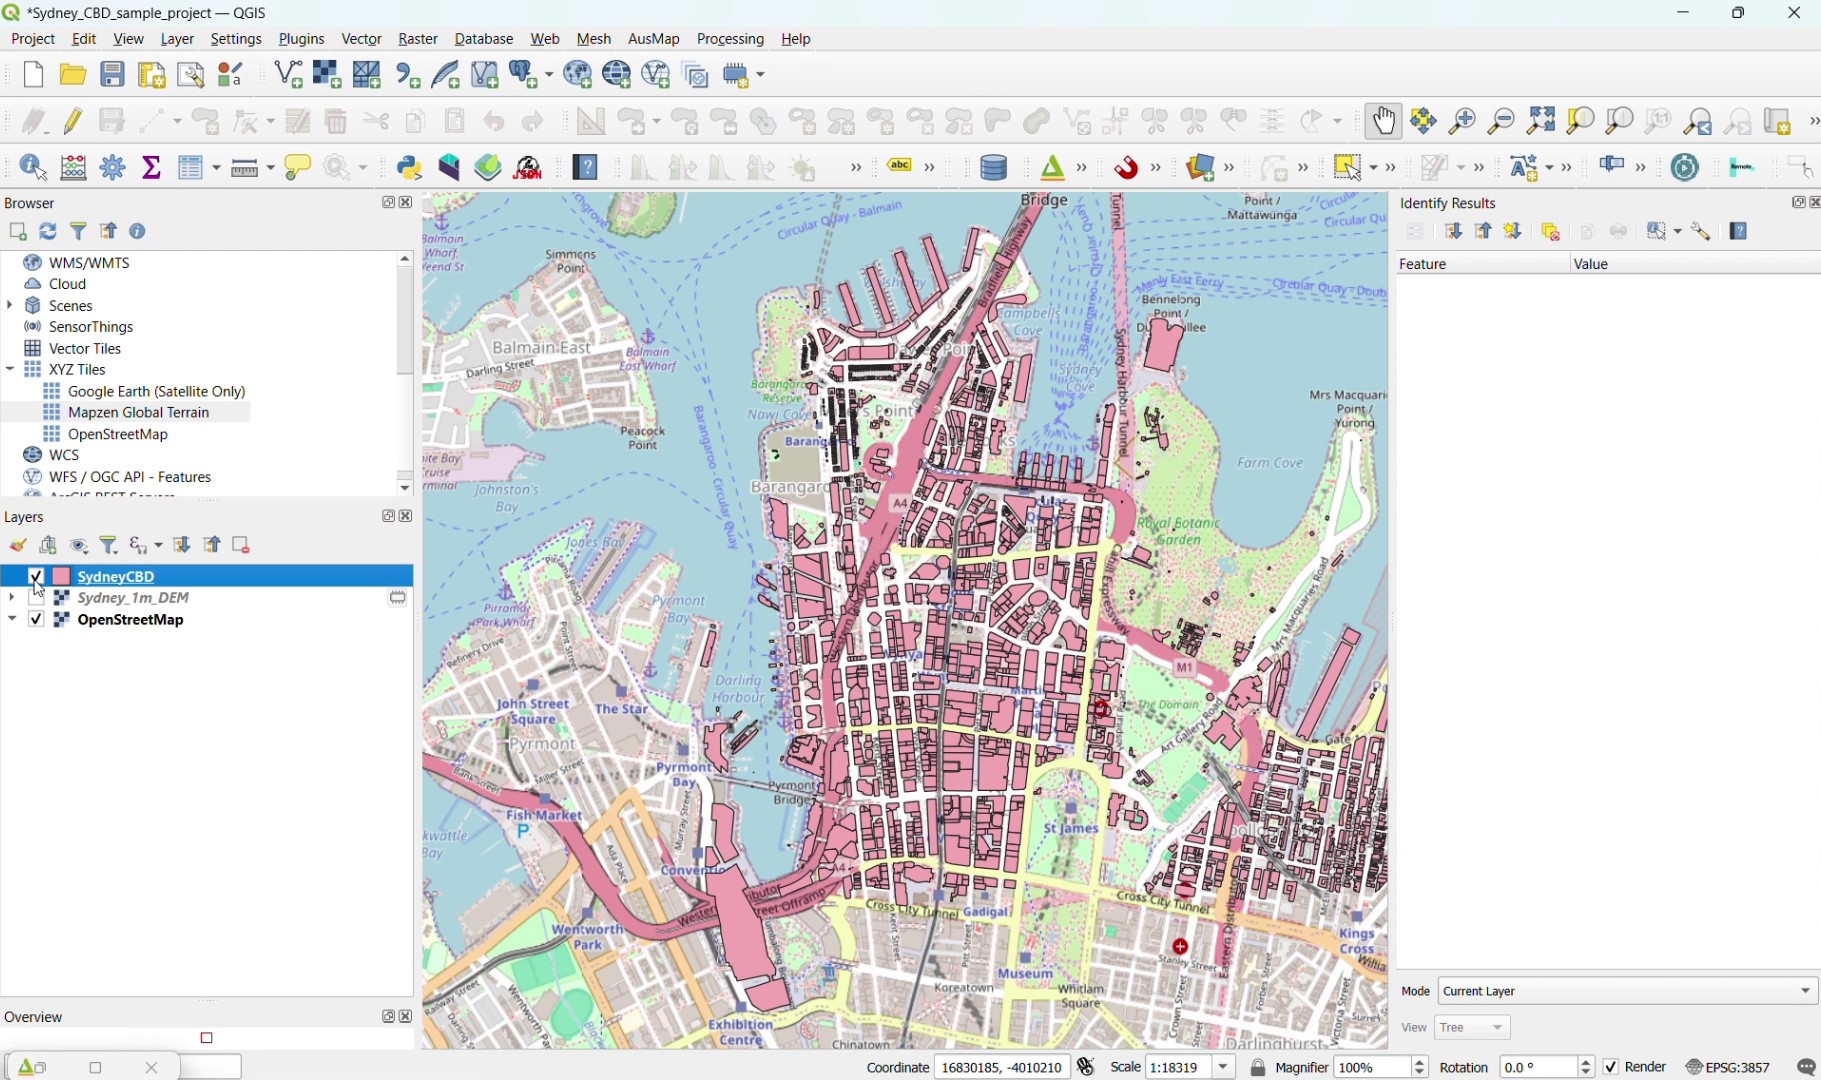
Prepare your map in QGIS
You can use QGIS just as you always do to design and produce the maps you
like. Once your map is ready, you simply need a web export plugin (like
Qgis2threejs, qgis2web, or InteractiveMapForQGIS).
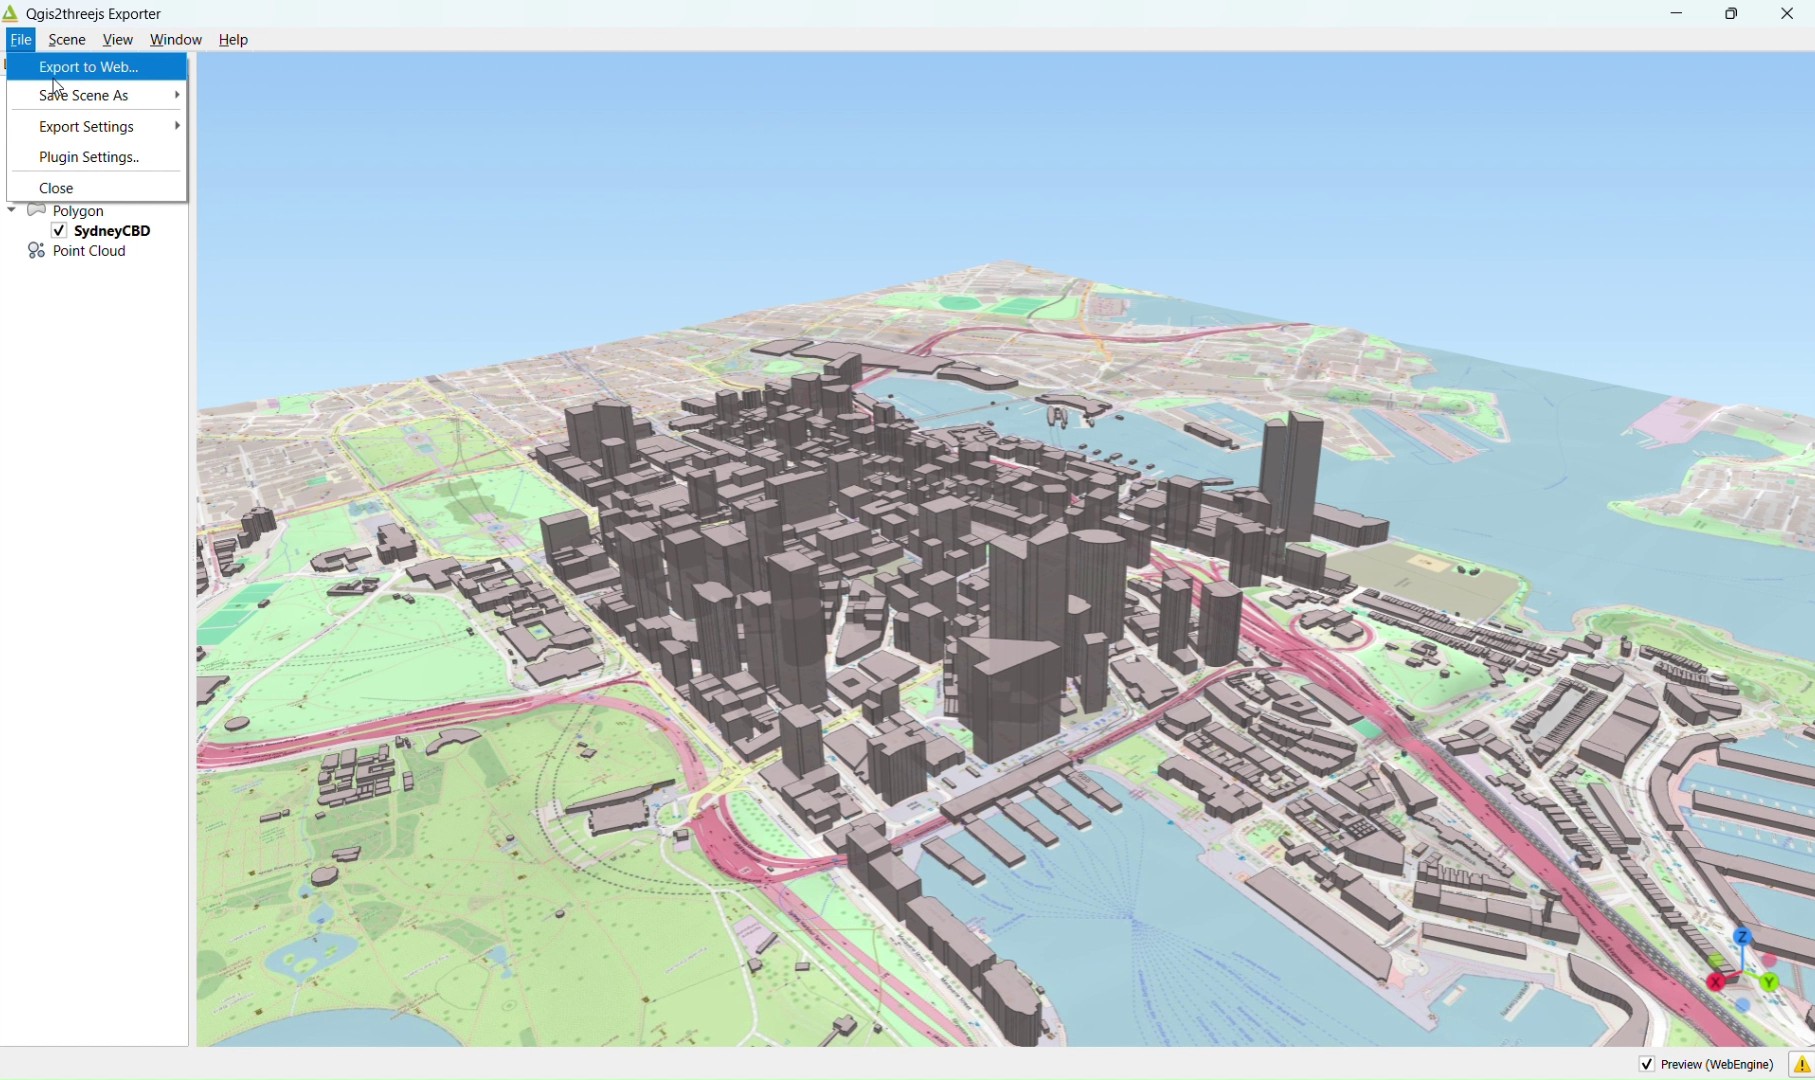
Open the Export Plugin
We're using Qgis2threejs in this example for its handy 3D
capabilities (though it supports 2D as well). However, this specific plugin isn't
mandatory, you may launch qgis2web or InteractiveMapForQGIS
directly instead if you prefer!
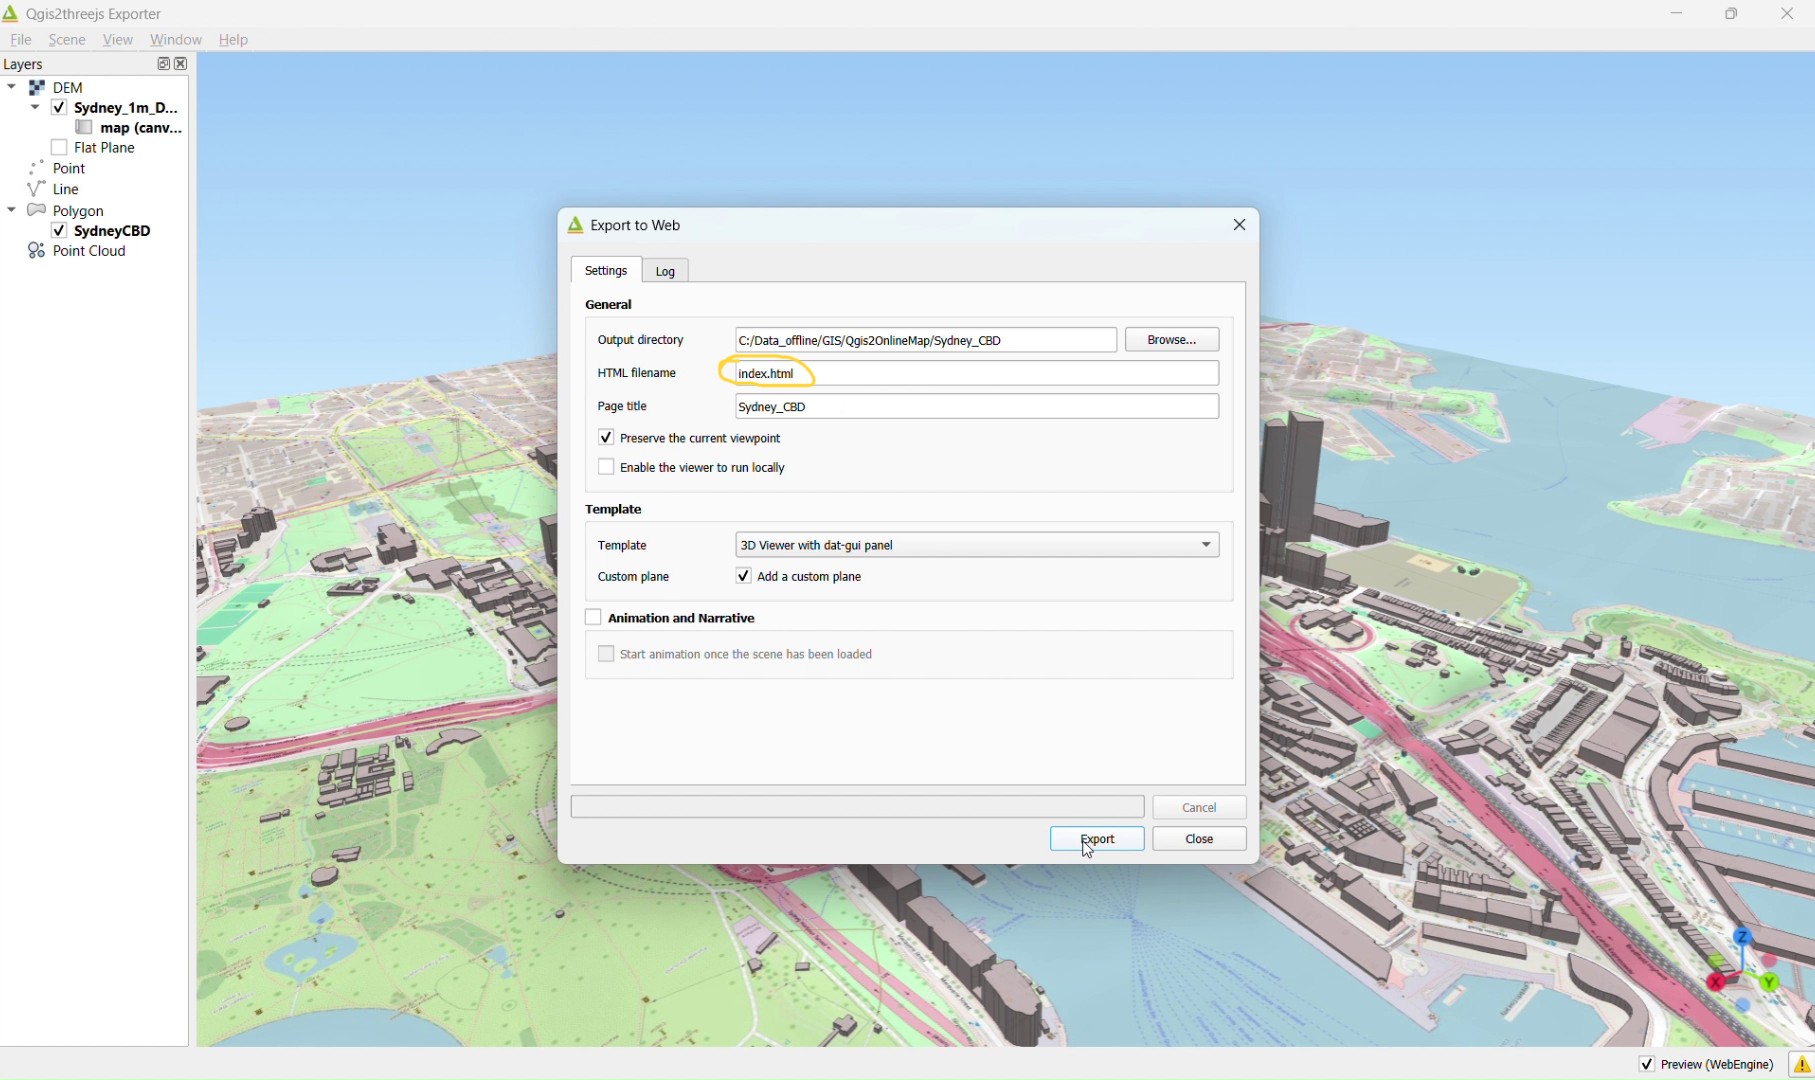
Export to Web Format
This is where you export your work to the web. It works the same for
qgis2web and similar plugins. Very important: Ensure that the main HTML filename is
set to index.html (this is usually the default). If it is not named
index.html, the hosted map won't open!
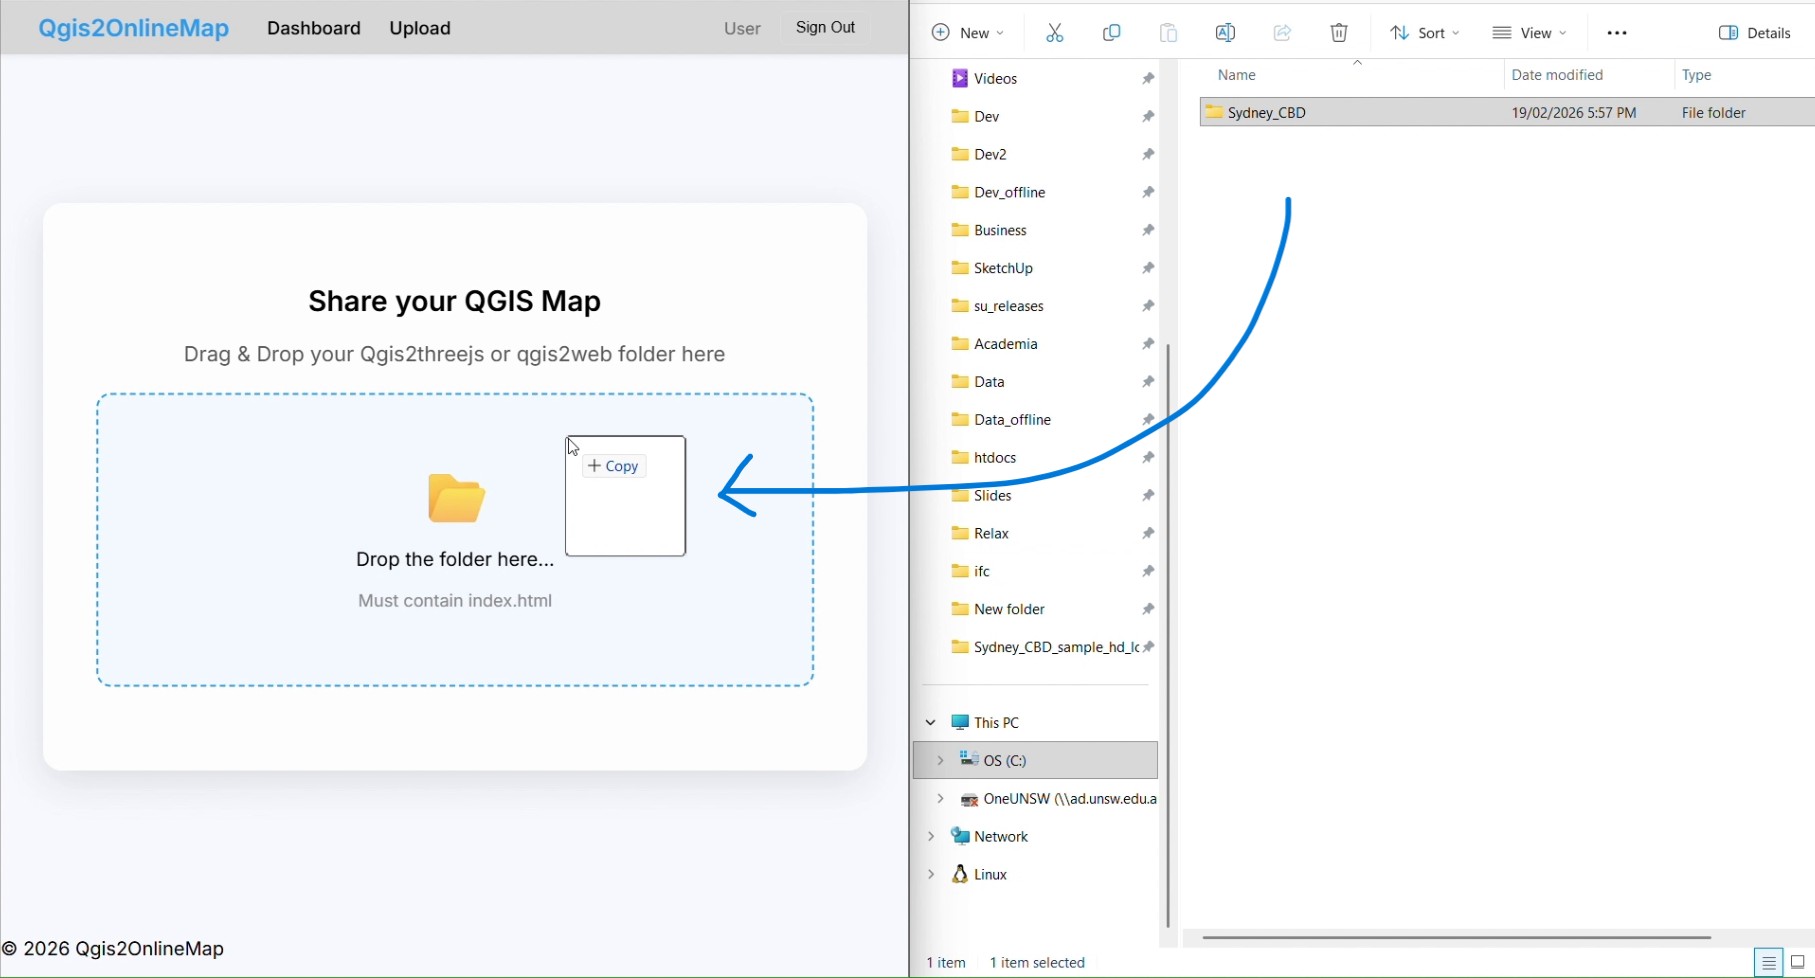
Drag and Drop
Log in to your Qgis2OnlineMap dashboard. You can drag and drop the resulting folder directly as-is, or the zipped version of it. Do not drop individual or separate files.
Share and Secure
Once uploaded, you'll get a live URL instantly. Want to keep it private? Toggle the Password Protection switch in your map settings to restrict access to your clients or team.
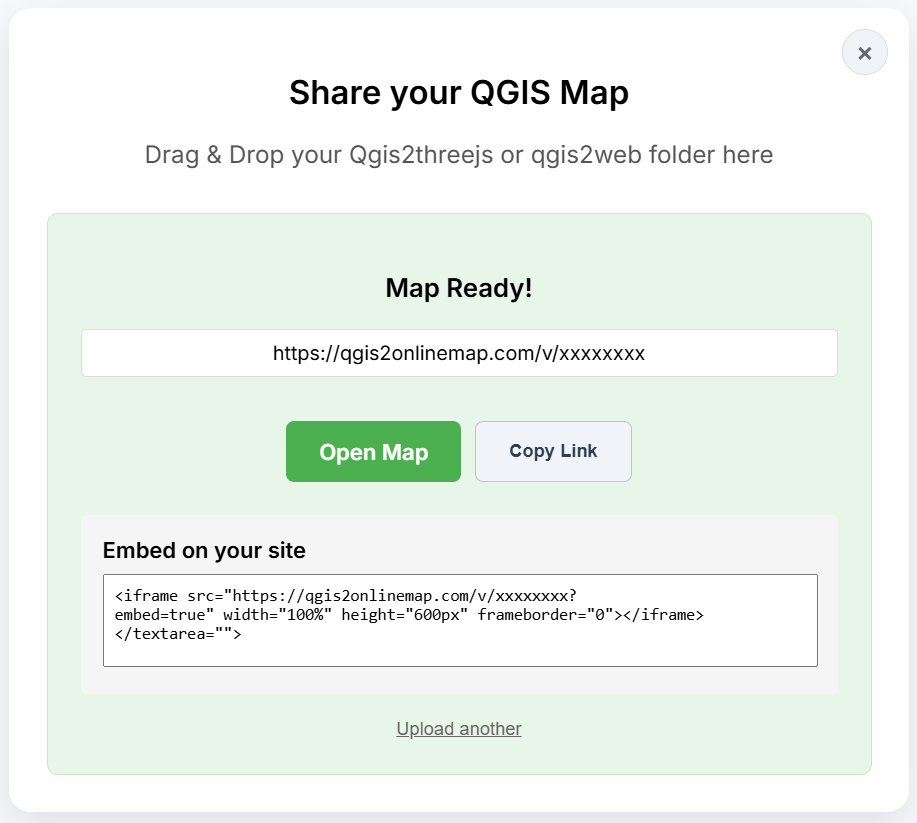
Using iFrames? You can enable or disable embedding in the map settings to control where your map appears.